|
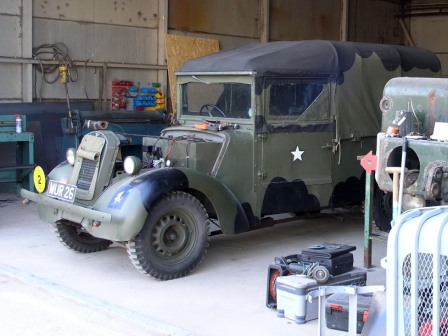
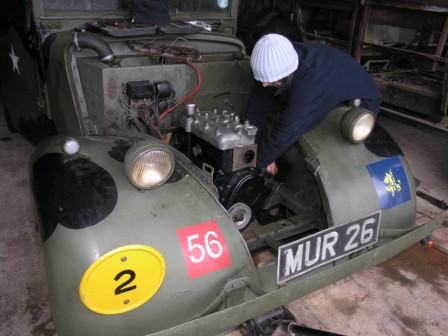
Tilly (from "Utility") was the name given to a number of British military vehicles produced during the Second
World War from civilian car designs and used by all of the armed forces in most theatres of that conflict.
This particular little example was produced by the Standard Car Company and based on the Flying 12 car.
It arrived with Rustytrucks with a number of minor issues that were causing concern.
|
| The Standard Light Utility |
A series of niggling issues were detracting from the owner enjoying this interesting and practical little military vehicle;
some tuning issues, an odd loss of oil pressure on starting and a recent head gasket failure all seemed reasonably straightforward
|
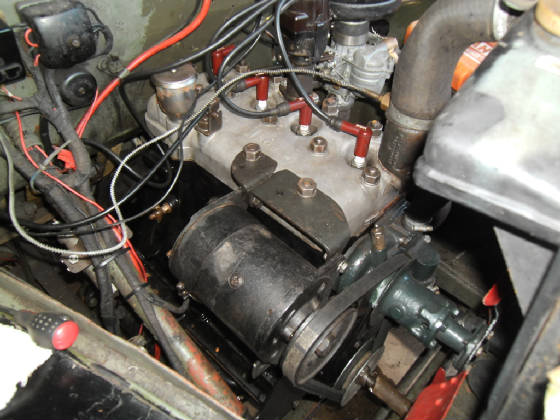
| So time to delve into the engine room |
One thing is worth remembering regarding troubleshooting and that is that for every problem there is a root cause - eliminate
the root cause and the problem can no longer exist. In that the head gasket change appeared to have been a catalyst
for the other issues, it was time to take the head off (always a joy with a side valve engine).
Head gaskets can go for no reason, but it is far more likely that they fail as a result of other root causes (the most
common being a stuck thermostat), so the head and the block were subject to a close inspection concentating in the region
of the gasket failure point.
|
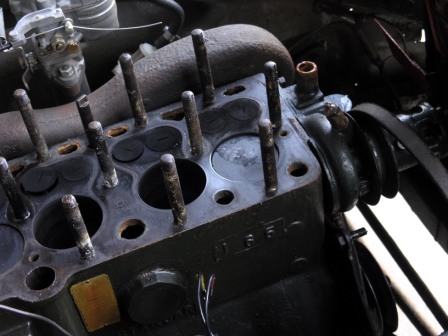
| Off with ite head..... |
Inspection of the underside of the alloy cylinder head did not reveal anything of concern, although this was a
visual inspection at this stage. Checking the block though did. With the cast iron cleaned with some fine emery
paper a series of hairling cracks could be seen between the 3rd and 4th cylinder bores. This exactly corresponded with
the failure point of the gasket. Sometimes these cracks are only apparent with a dye penetrant test, but these, though
faint, could be seen with the naked ey. A single hairling crack might last for thousands and thousands of miles or be
rectified with a little machining, but multiple cracks are much tricier to deal with.
|
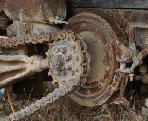
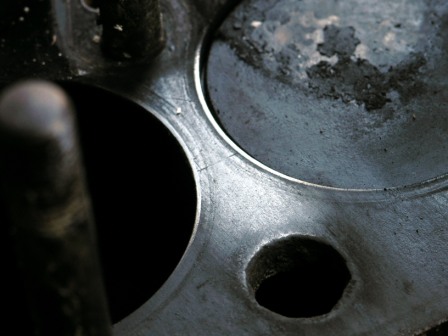
| Cracks between the bores |
This picture show two cracks (there is a thrid that does not show so well) one running directly between the bores and
the second above it running more diagonally. The effect here would be for a wedge of metal to move in and out many many
times per second, imposing intolerable stress on the sealing head gasket which then fails.
|
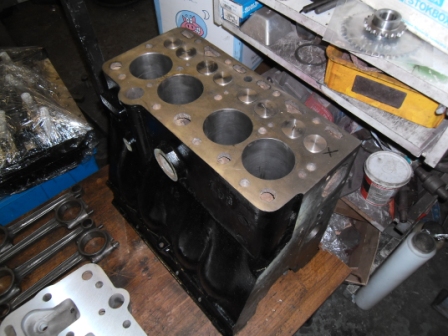
| Replacement block machined ready to build up |
Happy the Tilly's owner had a spare block in his garden shed so it was checked, machined and all the necessary parts
collected together to build a completely refurbished engine.
|
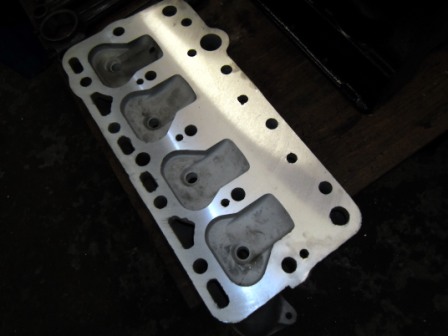
| Alloy cylinder head |
For good measure the best of two cylinder heads was checked, cleaned and fully machined including building up the thermostat
housing inner by TIG welding then machining back to original specification.
|
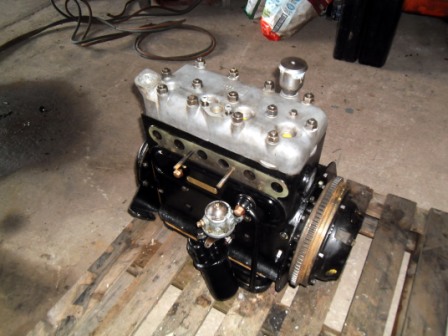
| The short engine |
Complete with new studs and fastenings all round the short engine is here ready to go back into the chassis. The
manifolds and other ancilliary items will be fitted once the engine is in place in the chassis. Not only does this improve
acccesibilty in the small engine compartment but it avoids the risk of damage. In fact both the fuel pump and the manifold
studs will be removed before fitting the engine to be replaced afterwards.
|
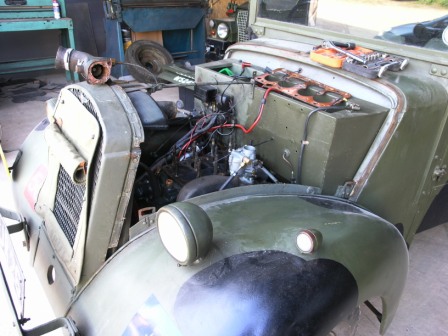
| Engine in place |
As can be seen space is tight. But with the ancilliaries replaced and everything checked and rechecked, this little
Tilly is now running beautifully and ready for many thousands of miles of trouble free running.
|
| Engine back together |
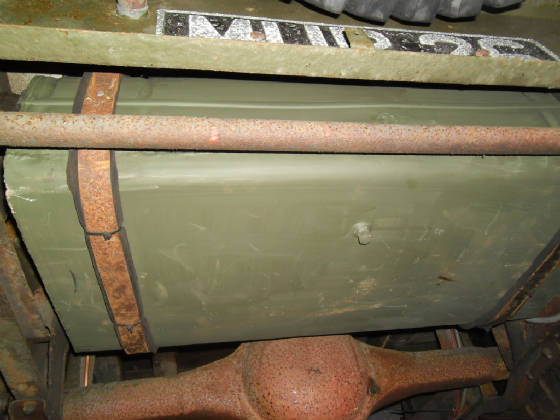
As a final belt-and-braces job to minimise the risk of future issues the fuel tanl was removed, internally cleaned and
de-rusted and fitted with a drain plug (so ethanol-rich fuel can be drained during periods where the car is not being used
for long periods). In addion a new fuel supply line was fitted from the tank to the engine.
|
| Refurbished fuel tank |
|