|
Stage 2 is again a bit of belt and braces in that although I have treated the
timber as I have constructed the ash frame, and although I have used marine-grade ply (although the original construction
was ash and ply I do not think either were really as protected from the effects of water as they might have been) I still
decided on a good coat of quality paint before the aluminium skin. So I used floor paint which soaks into the end grain
especially well and dries very hard indeed.
|
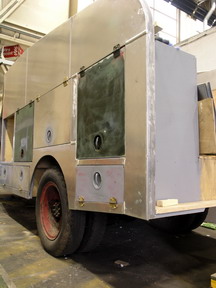
| The back corner - almost done |
The third stage is the skin itself. In this case I have used a combination
of ordinary aluminium sheet (1.2 mm in thickness) together with similar guage Duraluminium (sometimes called Dural).
The latter is an alloy containing additional copper, magnesium and manganese and the effect is to make it considerably harder
than the standard aluminium sheet. It is much harder to work, but much less liable to accidental damage. So I
used the dural for sheets with just simple single folds in them and the plain aluminium for the sheets requiring curves, such
as the sheets that go along the top edge of the rear bodywork which is quite tightly curved at the rear.
The sheets have been secured by pinning along the edges inside the lockers, the
seams were then sealed and a round-section trim strip added. Wherever screws have been used they have been brass to
avoid any electrolytic corrosion (or just plain old rust for that matter!)
|
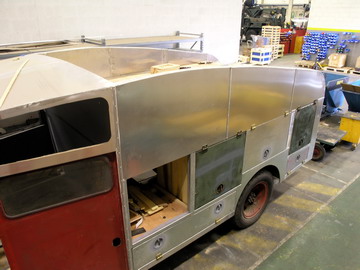
| The nearside complete with locker doors |
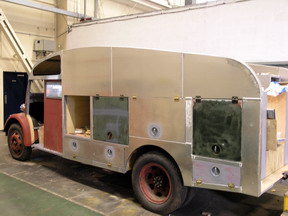
Fitting the lockers has been straightforward too, but again care has been required
to maintain gaps and clearances. The lockers are of three types; the green ones are adapted lockers from a Green Goddess
fire engine, the silver ones have been made completely from scratch and the little ones at the rear use the original skins
fitted to a new frame.
Other original panels fitted to new frames include the main cab doors and the
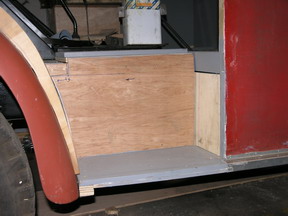
large panels that go behind them. Fitting them has enabled me to return to unfinished business – that is to say
the step areas inside the doors and behind the front mudguards. Getting this
area as near as possible to the original is another challenge requiring much patience, but progress here is good too, with
one down and one to go.
The next stage will be to complete
the sheeting and trimming, trial fit the doors to ensure that slide backwards and forwards properly and then start the lengthy
preparation for paint
|
| The step inside the nearside doorway |
|
