|
The last couple of months have been dedicated to bodywork and paint, followed by a further extensive period of bolting
and screwing everything together, replacing glass and rubber, re-wiring and re-commissioning. They say that the key
to a good paint job is preparation, preparation and yet more preparation. I can certainly vouch for that.
|
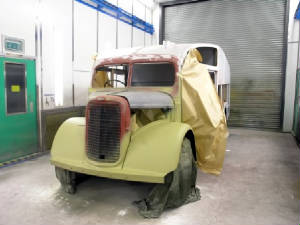
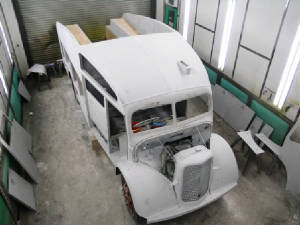
| Stage 1: Acid etch primer |
Stage one of what was a lengthy process was ensuring that there was a sound base for the rest of the paint to adhere
to. As well as cleaning and degreasing both the steel and the aluminium surfaces, an automotive 2-pack etch primer was
sprayed onto every bare surface.
|
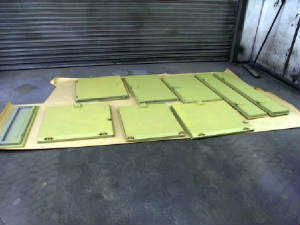
| The locker doors in etch primer |
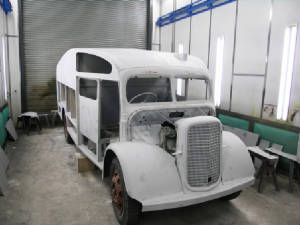
With the etch pimer in place, all of the seams were sealed and imperfections in the surface filled and rubbed down, taking
care either not to rub through the etch coat or re-etch it if rubbing through was inevitable. Other minor impeerfections
were dinged back so there were no high spots. Then about 10 coats of 2-pack priimer were applied. In between
coats the primer was rubbed down (by hand) with 120 grit at first. In the latter stages 800 grit was the order of the
day. It is only when you actually do it do you realise how many square feet of surface there are on something like a
fire engine!
|
| Primer primer and yet more primer.... |
|
| As well as the body there were the doors and locers to paint |
|
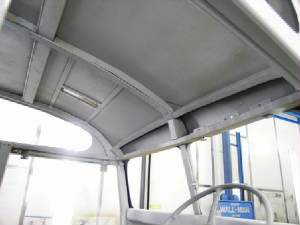
| Inside as well as outside |
Once primed it was a case of going around with stopper, a super fine filler applied with a knife or small spatula into
all the small holes and imperfections that had been missed. Even tiny pinholes needed stopping, otherwise when the topcoats
were baked the expanding air bubble in the pinhole would produce a pock mark in the paint. Once stopped, a final light
coat (and 800 grit rub down) left the whole surface ready for the top coats.
|
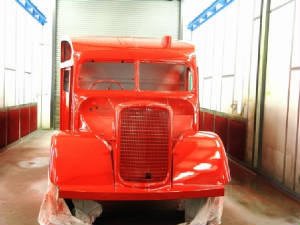
| The first two coats of red |
In all six coats of red were applied, with rubbing down in between, again with 800 grit. At each stage the paint
was baked before moving on to the next stage. Luckily, because all the windows were out the minimum masking was required
(even so I have subsequently found red in some very odd places!). The end result was spectacular, with the hours and
hours of preparation being worth every minute.
|
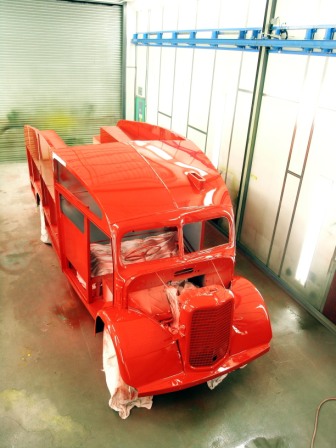
| The superb finish is starting to becoem evident as the next layer of paint starts to harden |
|